Pages

Showing posts with label Recipe. Show all posts

Monday, May 21, 2012

Asparagus... You Have No Idea

Pin It 25 pounds... 25 pounds.

When I asked my husband WHY?, he said, "I thought that is what everyone was getting." Bless that generous man. He doesn't spare any cost when it comes to me.

I can just picture it now, "25 pounds for my beautiful wife! Only the best for her."

Little did he know that I have no history with asparagus. I have grilled them once or twice, but that was the extent of my knowledge.

I didn't hear great things either about freezing or canning. So... I hopped in the car and delivered about half of my loot to friends, family, strangers I met on the road... anyone who would whittle my pile down for me. That still left me with about 15 pounds.

Here is all the asparagus knowledge I have acquired in the last few days. What is the saying? "Necessity is the mother of all learning." Very true. My 15 pounds of asparagus have brought me mountains of new knowledge and I know longer fear what my hubby may bring me home next.

Freezing Asparagus
I decided to go ahead and freeze some of the asparagus. I had so much that there was really no other options... and it was super easy.


Pots of hot water ready!


Asparagus washed and the bottoms snipped off

Then I blanched the asparagus for 1 minute. I read a ton of different information, but it looked like people blanched anywhere from 1-5 minutes. Frozen asparagus already tend to be mushy so I wanted to have it cook the least amount of time possible.

Then I put it in ice water in my sink. I dried it really good and put it in freezer bags. DONE. Very easy. If it does turn out mushy, I don't mind, because I will just use it... in my asparagus soup. That is the next on the list. Oh... my goodness... amazing.

Asparagus Soup


This is one of my new favorite soups (not my hubby's... he wouldn't even try it. We are still fighting about it). It calls for 3 pounds of asparagus. That is a lot.


I had to weigh it on my bathroom scale.

Recipe:
3 pounds of asparagus
8 cups chicken stock
4 T. butter
1 C. onion
1 T. minced garlic
1/2 t. salt
1/4 t. pepper
1 1/2 c. Heavy cream of half and half
1/2 flour


  • First break off all the tips and save them for later


  • Cook onion and garlic in butter for three minutes. Add salt and pepper


  • Add asparagus pieces minus the tips and stock and let it simmer until the asparagus is tender 10-15 minutes


  • Remove from heat and transfer the mixture to a blender. Here is the trick. You can't put much in the blender because when you hit BLEND it doubles in size. The burn on my arm and soup on the cupboards across the room was the hard way to learn that lesson. Please air on the cautious side


The left is how much I started with. The right it what it looks like when blending.

  • Then I put it all the blended soup back in the pot. I mixed the cream with about 1/4 to 1/2 c. flour. It has to be mixed together very well... NO CLUMPS. I brought that to a boil for about 1 minute and added the tips. Then I let it simmer for 5 minutes or until the soup thickened and the tips were soft.
  • That is it! It was so good and I am sure very good for you with three pounds of asparagus blended up.

A jar for my Father-in-law


The Fridge

We had a ton of people over that week and we served asparagus to everyone. To keep it fresh I snipped about 1/2 inch off the bottom and stuck it in water in my fridge. It can last up to two weeks that way and still stay very fresh. I must of had about 5 pounds in there.

When our guests came I snipped off the rest of the woody stem and put the whole asparagus in a frying pan with about 4 T of butter (spare no expense on the butter), garlic salt and pepper. I cook them on low for about 5 minutes until they are slightly soft and then cover them with Parmesan cheese.


I might ASK for 25 pound next year if my husband decides to call before putting in his order. I am no longer scared.

Saturday, April 28, 2012

Vanilla Coffee Creamer

Pin It Thank you to my friend Amber for having me over, for having coffee with me and sharing her homemade creamer. I went directly home to find a recipe and here is one I liked.

http://www.mrshappyhomemaker.com/2011/09/french-vanilla-coffee-creamer.html
This was so easy and everyone should make this right now!

The Recipe is:
1 14 oz Can of sweetened condensed milk
14 oz of milk (I used the empty can of sweetened condensed to measure)
2 t. Vanilla
That is it!

Put it all together in a mason jar and shake, shake, shake. It will be an off-white color when you are finished.


This is what is left after a day or two in our house. The recipe makes about twice this much. I am always going to keep a can of sweetened condensed milk on hand so I can whip this up whenever I need it.

Tuesday, April 24, 2012

Pretzels

Pin It

Here is our Holy Week pretzel recipe. I had a few people ask for it. I snagged it off the heavenlyhomemakers blog that I love, but as always there are little things you change and tweak to make it work for your house.

I want to be a whole wheat flour kind of lady, but I struggle with the battle between health vs. my bread not rising. I know the answer is to find a really finely ground whole wheat flour, but until I do that I will be using up my 50 lb. bag of white flour and feeding the empty calories to my children. Hey, at least they are homemade, right?

This is the heavenlyhomemaker recipe, but cut in half. I can't fit 8-10 cups of flour in my mixer and if I can't fit it in my mixer, I want nothing to do with it. I also added more flour because her recipe still seemed too sticky when I added the amount of flour it called for.

Here is my slightly modified version:

1/2 c. water
1 T. yeast
1 t. honey
1 1/4 c. milk
1/2 stick of melted butter
1/4 c. honey
5-6 cups of flour

Toppings:
Butter
Salt
Cinnamon
Sugar


In a bowl mix the 1 t. of  honey, yeast and 1/2 water. Let it it sit.

Mix butter, 1/4 c. honey and milk in mixer. Add yeast mixture. Slowly add flour until the dough is still a little sticky (if you are using a dough hook a portion of the dough will be on the hook and some will still be stuck the the bottom of the mixing bowl). Let it knead for 5-10 minutes.

Remove it from the dough hook and let it rise for 1- 1 1/2 hours. After it rises remove it and knead it down very well. My dough had a lot of bubbles in it.

Roll out long cords (they need to be a lot thinner then you think. My first batch had no holes in the pretzels because I made them so fat... they were like huge hamburger buns with a twist on top). Make a circle with the dough and cross the ends together twice. Then connect the ends to the bottom of your pretzels (this is why we used them as a Lenten food, because they were our praying hands).

Put them on a cookie sheet (if you have a stone...use that) and bake for 20 minutes at 350 degrees. Have some melted butter ready and slap it on there. I let the kids have a little bowl of melted butter to dip their pretzel in and they thought that was very fun.

We also did some cinnamon and sugar pretzels. I put the melted butter on when they came out of the oven and then sprinkled cinnamon sugar over top. You could make a little frosting to dip them in and that would be a party waiting to happen!

Freezing: I froze most of  these right after I shaped them. We eat them all up in about a week or two, but they tasted the same frozen as they did fresh. I put them in the freezer on the cookie sheet and then took them out a   couple hours later and put them in a Tupperware and then back in the freezer.

These are a super easy lunch (not to mention budget friendly) or even a great bread to serve with dinner. Soup and pretzels? I think so!


Thursday, April 19, 2012

Bacon Chowder

Pin It This is my moms Bacon Chowder recipe. It was her grandma's Bacon Chowder. But... as kids we didn't really care who came up with the recipe, we just knew we LOVED it.

Mom gave me this recipe at my bridal shower. It has obviously gotten quite a bit of use.

I make it for my family because it is cheap (minus the bacon, but you can get it on sale) and I can throw a lot of leftovers in there. If you are cooking on a LOW budget you will have a lot of leftover potatoes and carrots.

This was the perfect rainy day meal last night. Mmmmmm... so cozy.

The recipe above is for a BIG BATCH as my mom called it, but it really just fed our family of eight growing up. I cut it in half because we can't destroy that kind of food yet.

So here it is:


1 lb hamburger
1/2 lb bacon
1/2 onion
2-3 potatoes
2-3 carrots
1 c. water
bacon grease
flour 1/3 cup
1-1 1/2 quarts milk
pepper
season salt


Brown the meat with the onions. I like to add a little season salt too. When it is done put in a cup of water and let the potatoes and carrots simmer together until they are soft.

Meanwhile, fry bacon in another pan. You can cut the bacon up before or break it up after it is cooked. When it is done throw the bacon in with the simmering veggies.

Save a 1/8 - 1/4 a cup of bacon grease in the pan. Add the flour and about a cup of milk to start. Then whisk, whisk, whisk. You want to get the flour mixed in very well or you will get flour clumps in your soup. Yuck. As the mixture boils it will get thicker and you can add more milk gradually.


It should look like this when you are done. You want a alfredo-like consistency.


Then add it to your hamburger/veggie combo
Add season salt and pepper to taste. 


Bread and soup. You can't beat it. We could eat it every night!

Monday, April 9, 2012

Moving Through the Apple Slices

Pin It

I am trying to use up these apple slices that I canned last year. I noticed that I had barely touched them ( I think I go into hoarding mode and want to save them forever because they are like gold to me). It just hit me that I need to use them all up before the summer and my apple tree starts pumping out the love again. 
I brought some meals to friends and had my lovely bible study ladies over so I thought I would try out some new treats. 


Some other things I am planning on using these for:

  • Apple pie
  • Baked oatmeal
  • Mini apple pies
  • Coffee cake
Canning amazes me this time of year. We have almost gone through all our jars of food from last summer (except these precious apple slices). I am already looking forward to full shelves again of peaches, pears, beans, potatoes, peppers, and jam. Even though my belly will be budging this summer, I can hear the fruits and veggies calling, This is the canning sickness. These are just two of my most recent treats:


Apple Cinnamon muffins:
This recipe came from here http://smells-like-home.com/2010/11/apple-cinnamon-maple-streusel-muffins/.  I changes a few things and i didn't add the butterscotch chips (not because I didn't want to...they are on the grocery list).

2½ cups all-purpose flour
2 tsp. baking powder
1 tsp. baking soda
½ tsp. salt
¾ cup old-fashioned oats
8 tbsp.  butter, at room temperature
½ cup packed brown sugar
1 1/2 cup pureed apple slices ( chopped apples and a 1/2 each of cinnamon, nutmeg, cloves and all spice )
2 large eggs
1½ tsp. vanilla extract
1 cup milk
¾ cup butterscotch chips
For the streusel topping (optional):
1/4 cup flour
2 tbsp maple syrup
2 tbsp brown sugar
Mix together dry ingredients and set aside. Mix butter, sugar, eggs, vanilla and milk. Slowly add flour mixture. Spoon into muffin tins and add the topping. Cook at 350 for 18-20 minutes.
Pumpkin Apple Bread
(DO NOT bake this if you are on a diet... bad news...bad bad news)


I found this recipe at divinecaroline.com and I tweaked it a bit to work with the apple slices.


You will need:
Mix the following ingredients together:


1 cup sugar

Three eggs
1-1/2 cups pumpkin puree
1 cup apple pie mix or (chopped apples and a 1/2 t. each of cinnamon, nutmeg, cloves and all spice)
1/2 cup vegetable oil

Mix the dry ingredients together:
1 teaspoon baking soda
1/2 teaspoon baking powder
1 teaspoon salt
3 cups flour

Add the dry ingredients slowly to the sugar/egg mixture
Heat oven to 350° F degrees. Butter two loaf pans. Cook for 1 hour and 30 minutes.

You can just cut up a apple and and add some spices to substitute for the canned apple slices. However, I highly recommend that you try this canning recipe at heavenly homemakers when the season hits. Just beautiful.

Saturday, March 10, 2012

Stuffed Chicken Parmesan

Pin It
Oh, my, heavenly... this was very yummy! I was struggling to make Chicken Parmesan because I couldn't find a recipe that seemed gooey enough. I wanted moist, cheesy, yummy chicken. Most basic recipes just tell you to dip a breast in egg and then coat it with bread crumbs, that was not going to get the job done for me tonight. So... I searched through the low budget fridge and found whatever battle supplies I could.


Look at what little beauties were hiding behind all the canned goods (cottage cheese, cream cheese and pesto).


I scooped a few of those together to make a nice filling for my chicken breasts.


I don't have one of those meat pounding mallets, but the rolling pin works quite nice.


Spread the gooey goodness


 Roll them up and put a tooth pick in to secure.


These were dipped in egg and then bread crumbs and Parmesan cheese. Bake at 375 degrees for 40-50 minutes.


Add a few scoops of spaghetti sauce and cheese and bake for another 5 minutes.
Then serve to all the beautiful people around your table.

Monday, March 5, 2012

The Little Ham That Could

Pin It


Looks scary right?

It is anything but that. This is all that is left of the ham who made the gift that kept on giving.

My sister brought me a ham a week ago. I was grateful, but had I known what that little baby was going to do for our family I would have kissed her feet before she left.

The next day we all had hearty ham sandwiches for lunch. Then the day after that I made scalloped potatoes for our family and the neighbor. Then I cubed up a few more slices for our snack plates at lunch. Then I got down to that scary little bone. The only thing I could think of to use it for was bean soup or pea soup, both of which I had never made before, and the thought of trying to serve them to my hubby made me pursue a different route.

I came up with potato soup. I hadn't made it in forever. I just needed an idea of how to use that bone to get some more flavor. My mom told me I could just boil it and then use the stock instead of the water in my recipe. Lovely. I turned out beautifully and tasty and I even made it on day I wasn't feelin' so hot.

Here is the sick day potato soup:
3 1/2 potatoes
4 c. water
2 chicken bouillon cubes
1/3 cup celery (I didn't have any celery so I used carrots. Hence, the very orange color)
1/2 c. onion
1 c. ham
1/2 t. thyme
bay leaf
salt
pepper
5 T. butter
5 T. flour
2 c. milk

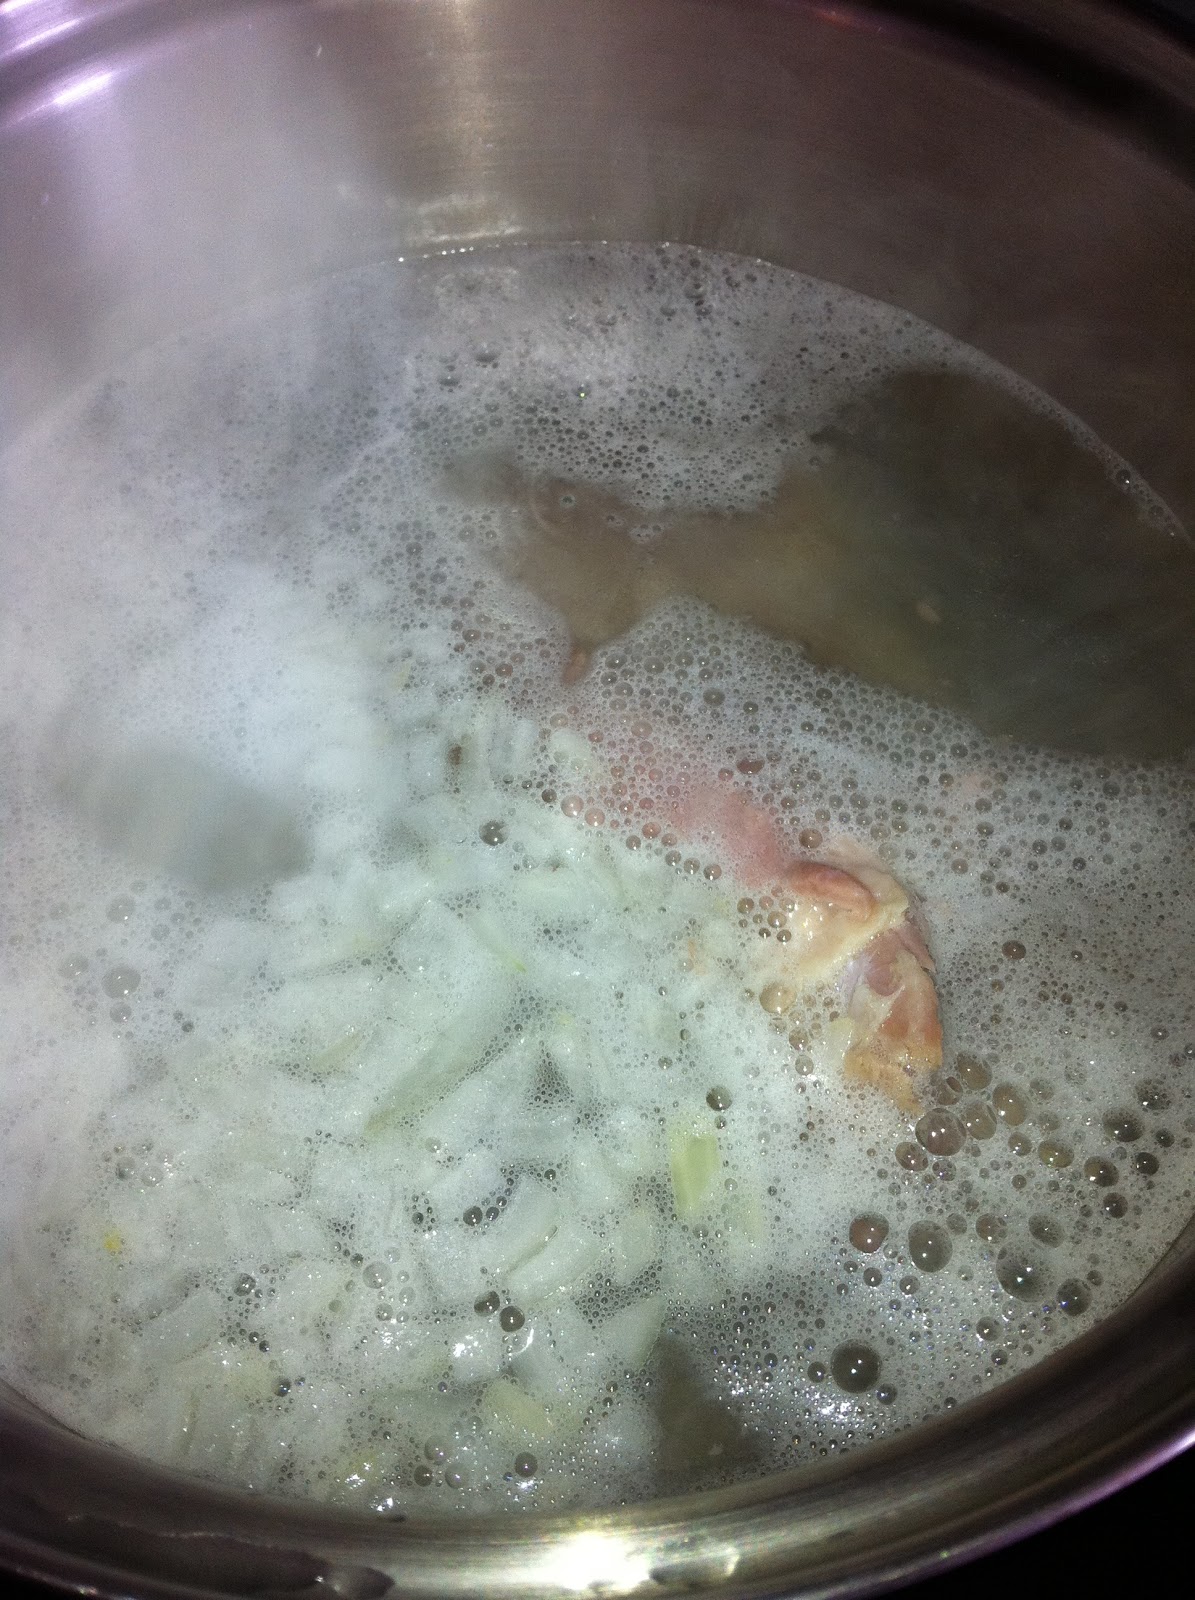
If you have a ham bone, simmer it for 1 hour with some onions. Make sure the bone is covered with water when you start. If you get more then 4 c. water freeze it for your next soup.

Put water (or ham stock), potatoes, bouillon, celery, onion, thyme, and bay leaf in pot and let simmer for 10-15 minutes.

In a separate pan melt butter and then wire whisk in the flour until it is a smooth paste. Add milk slowly while whisking the crap out of that milk so that it doesn't have any chunks in it. It will thicken up to a sauce-like consistency. Pour the milk mixture into the potato and veggie pot and stir. Add the ham.

Put a few parsley flakes on the tops for pretty! Not that anyone in this house noticed, but they liked it.


Monday, February 27, 2012

.08 English Muffins

Pin It

Take a look at these beauties! I was fishing around a blog that my sister had sent me and found this recipe for English Muffins. We eat a ton of these because my hubby makes his famous egg sandwiches on Sunday after church. They turned out beautiful, but this was a picture of my second try. They only thing I found confusing about her recipe was that it calls for 3 c. of flour and then she only tells you to add 2 1/4 cups. I added the full 3 c. and the constancy was correct. I, also, rolled them out too thin the first time and the next time I had to fatten them up a bit.
So, I will leave you with a fun fact about English muffins... they are cooked... in a frying pan, not baked. That is why they are golden brown and flat on each side. I was not expecting that.
The joy of trying something new!One more thing... they are only .08 a piece to make. The budget loves these even more then I do.

Tuesday, February 21, 2012

Lettuce Wraps

Pin It


This is the only Asian meal that I cook. My mom used to make chop suey when we were kids... and I hated it. Every time she made it she would let me just eat the white rice. Which, looking at it from a parenting stand point, it was quite gracious of her. Now, I have an only white rice eater. Hmmm, what to do with him?

Anyway, this is one of my hubs favorite meals. If he sees lettuce wraps on a menu somewhere he has to try them. Then he will proceed to rate those wraps against all other wraps he has ever had. so naturally I had to try to find a recipe for our house. He always seems quite pleased with these and can eat at least 5-10 wraps in a night. I consider that a hit. I have to double this recipe and if you are feeding around 4-5 hearty eaters you will need to as well.

I had to purchase a few Asian products, but I had most of the ingredients at home. The main products you will need, and probably don't have unless you are a big Asian food family, are rice wine vinegar and Chinese hot mustard. So here it is:

You will need: 


  • 2 T. butter or oil
  • 2 Chicken breast or ground chicken breast ( I used the breast here, but the ground is definitely the way to go if you want to splurge on it).
  • 1 c. water chestnuts
  • 3 T. chopped onions
  • 1 t. minced garlic
  • 4-5 romaine lettuce leaves
Special Sauce

  • 2 T. sugar
  • 1/2 c. water
  • 1 T. soy sauce
  • 1 T. rice wine vinegar
  • 1 T. ketchup
  • 1 t. lemon juice
  • 1/2 t. hot mustard
  • 1t. water

Stir Fry Sauce

  • 2 T. soy sauce
  • 2 T. brown sugar
  • 1/2 t. rice wine vinegar
Directions:


  1. Mix up the stir fry sauce and set aside.
  2. Saute breasts or brown ground chicken. If using chicken breast, cut up into small cube size pieces.
  3. Add onions, garlic, water chestnuts and stir fry sauce. Cook until onions are soft.
  4. Make special sauce by dissolving sugar into water in a small bowl.
  5. Add soy sauce, rice wine vinegar, ketchup, and lemon juice.
  6. In a separate bowl combine hot mustard and water and stir well until it is smooth. Add mustard mixture to sauce right before you are ready to serve.
  7. You can top you meat mixture with the special sauce or leave it is a small craft for people to pour over their wraps. Justin says the sauce makes this recipe. It is surprisingly sweet and tangy so make sure you get to this part.
I serve this with white rice and stir fry veggies and we pile it all in the lettuce like an Asian burrito. Take a look at my happy hubs!

Plate full of sauce. Just the way he likes it!


Justin: "Babe, I love you so much. Thank you for the great meal."
Krista: "You are welcome, Honey. Anything for you." 
Just a glimpse into the beautiful conversation that fills our home. 
It may have gone more like, Justin: "Why are you taking my picture, you weirdo?"
Krista: "For my blog, now SMILE!"


Wednesday, February 15, 2012

Oatmeal Bread

Pin It
I had a couple requests for the bread recipe from my starving the budget post. This is my mom's recipe and I don't know where she got it, but it is amazing, a no fail favorite, and the BEST BREAD EVER. We used to come home from school and eat 2 loaves between 4 or 5 of us girls. A grown man could polish of one loaf by himself, no problem. My boys are following in the tradition and can put down at least three pieces at a time. Best of all... it is CHEAP to make. So here it is:
1 C. of Oatmeal
2 C. Hot water
1/2 C. Brown sugar/honey
2 T.  Butter
1 T.  Salt (not heaping)
Put all these together in your mixture or a big bowl and let sit until the butter melts and the hot water cools. This gets the oatmeal all mushy.

Put in a separate dish
2 T. Yeast 
1/2 C. Warm water (not too warm)

Add the yeast mixture to the oatmeal mixture when it is cooled. Then mix in:
5-6 cups of flour
The bread should be a little sticky still. If you are making it in the mixer the bread should stick the the very bottom, not be completely attached the the hook.You don't want it hard as a brick but a little elastic-like and sticking to your fingers.

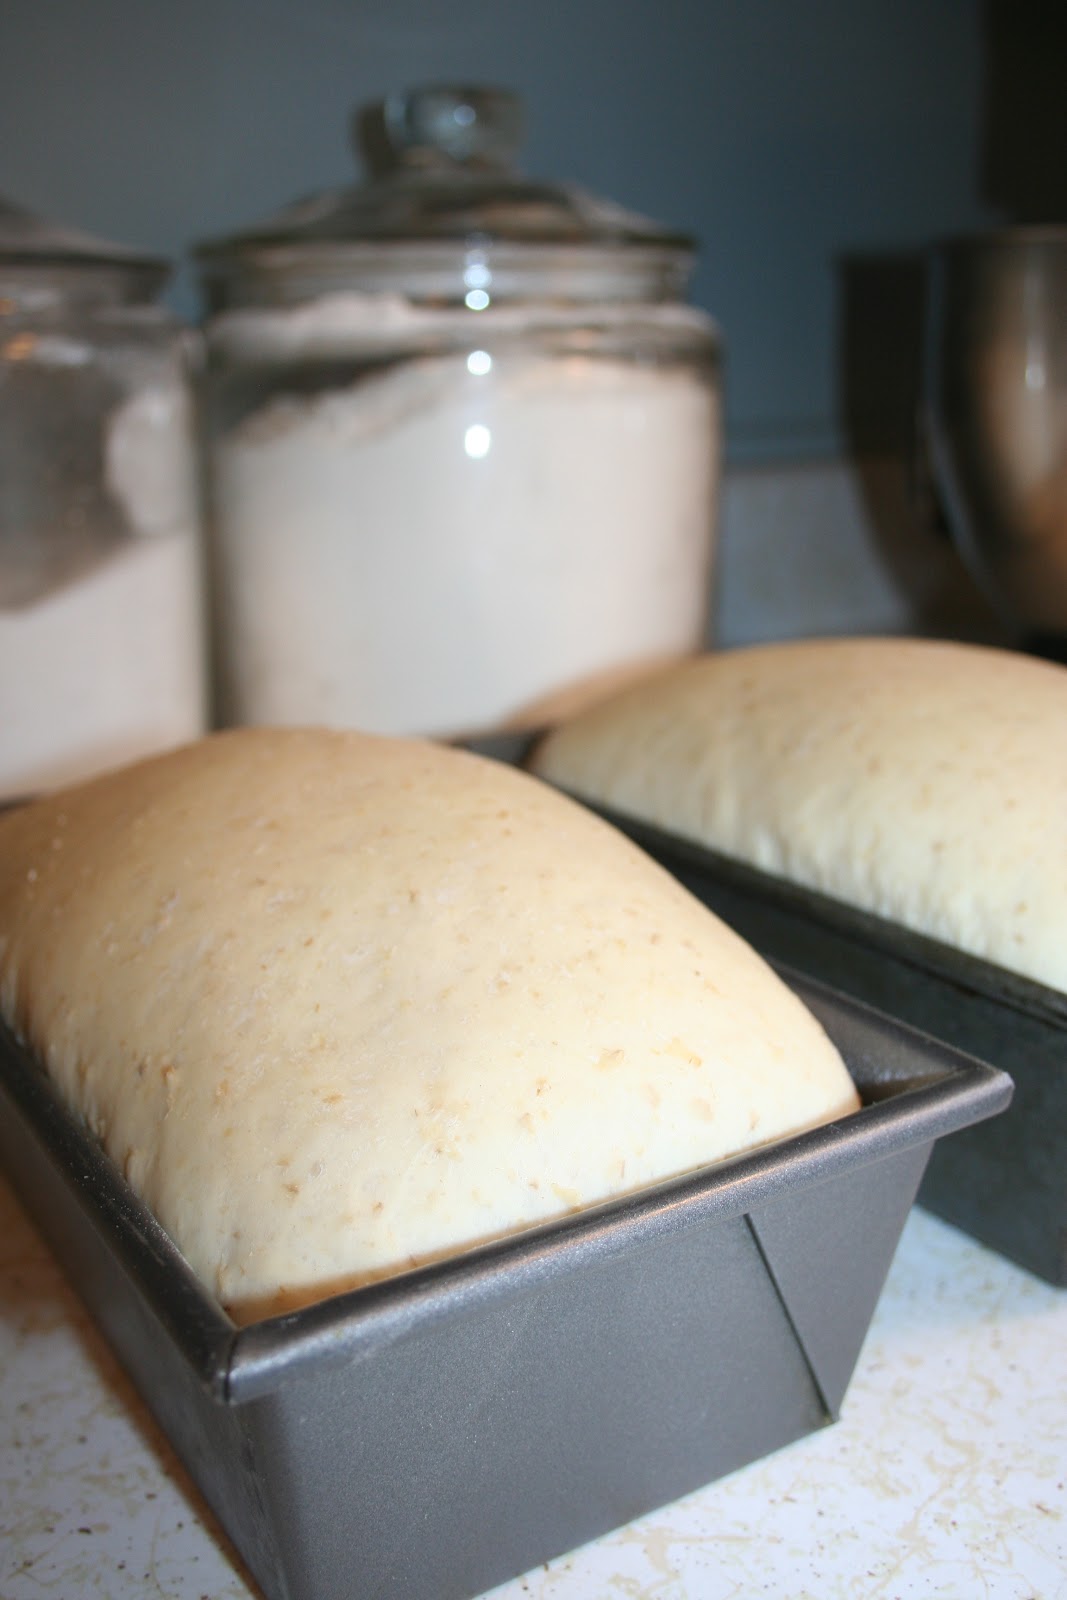
Let the dough rise until it doubles in size. Then take it out, punch it around (I have heard this is called kneading), and then pinch the middle until you get two loaves. Make sure there are no creases near the top of the loaf because they will split open while cooking. That is a pet peeve of mine because I want PRETTY loaves.

Let the newly formed loaves rise until they double and size. Stick em' in the oven at 350 degrees for 25 minutes. Then take out a stick of butter and rub it all over the top.
The oatmeal makes these loaves so moist! This is sure to be a favorite.


Let it rise


The pans have shortening and then flour dusted in them so the loaves don't stick


 Ready to hit the oven


Out of the oven, hot and ready


Loaves ready to head to the neighbors


The best part... feeding my little man. The strawberry jam really throws this over the top. I think he approves!


Friday, October 21, 2011

The Lovely Latte

Pin It I got a few requests for this Pumpkin "dream" Latte so here it is.
1 1/2 to 2 C. brewed strong coffee
4 cups milk
4 Tablespoons canned pureed pumpkin
2 1/2 teaspoons pumpkin pie spice
1/4 to 1/2 cup sugar
3 Tablespoons vanilla extract
Whipped cream

Add everything besides the whip to the slow cooker and whisk together. If unsure about how much coffee or sugar to add, start at the lower amount and you can always add more. Cook on high for 2 hours.
I doubled this recipe both times I made it because I made it for a pretty good size group and a double recipe filled up my crock pot nicely.
Have at least a bottle of whip cream per person... that was my special addition.
Related Posts Plugin for WordPress, Blogger...